The Pixel 4 is one of the most talked-about phones of 2019, so you know there will be lots of third-party developer support. Mods are already popping up, so you'll want to get Magisk installed as soon as possible to get root access. The current method used to gain root is the quickest way yet, thanks to the recent TWRP custom recovery support for the Pixel 4.
Rooting allows you to tweak, customize, and change everything you could ever want on a system level. Using Magisk will also enable you to pass Google's SafetyNet. This means you can continue using all of your favorite financial apps without worry, such as Google Pay. Magisk went through some significant changes for Android 10 and the Pixel 4, so let's get started so you can check it out.
Guide Update: Back in March of 2020, Google made some changes to SafetyNet that permanently trips when your bootloader is unlocked no matter what you do. This means you'll no longer pass SafetyNet successfully in most cases. Magisk Manager may report a "Success" check, but it's just spoofing your local results.
Google will now remotely check your SafetyNet status from its servers, which makes it impossible to spoof until another workaround can be found. It doesn't seem to affect all users just yet, but it might change soon to include everyone with an unlocked bootloader. We're keeping a close eye on the situation and will report any new changes if or when they should happen.
Requirements
- Pixel 4 or 4 XL with unlockable bootloader
- Android 10 installed (not compatible with Android 11)
- On Your Phone? Open These Instructions in Split-Screen View
Step 1: Unlock Your Bootloader
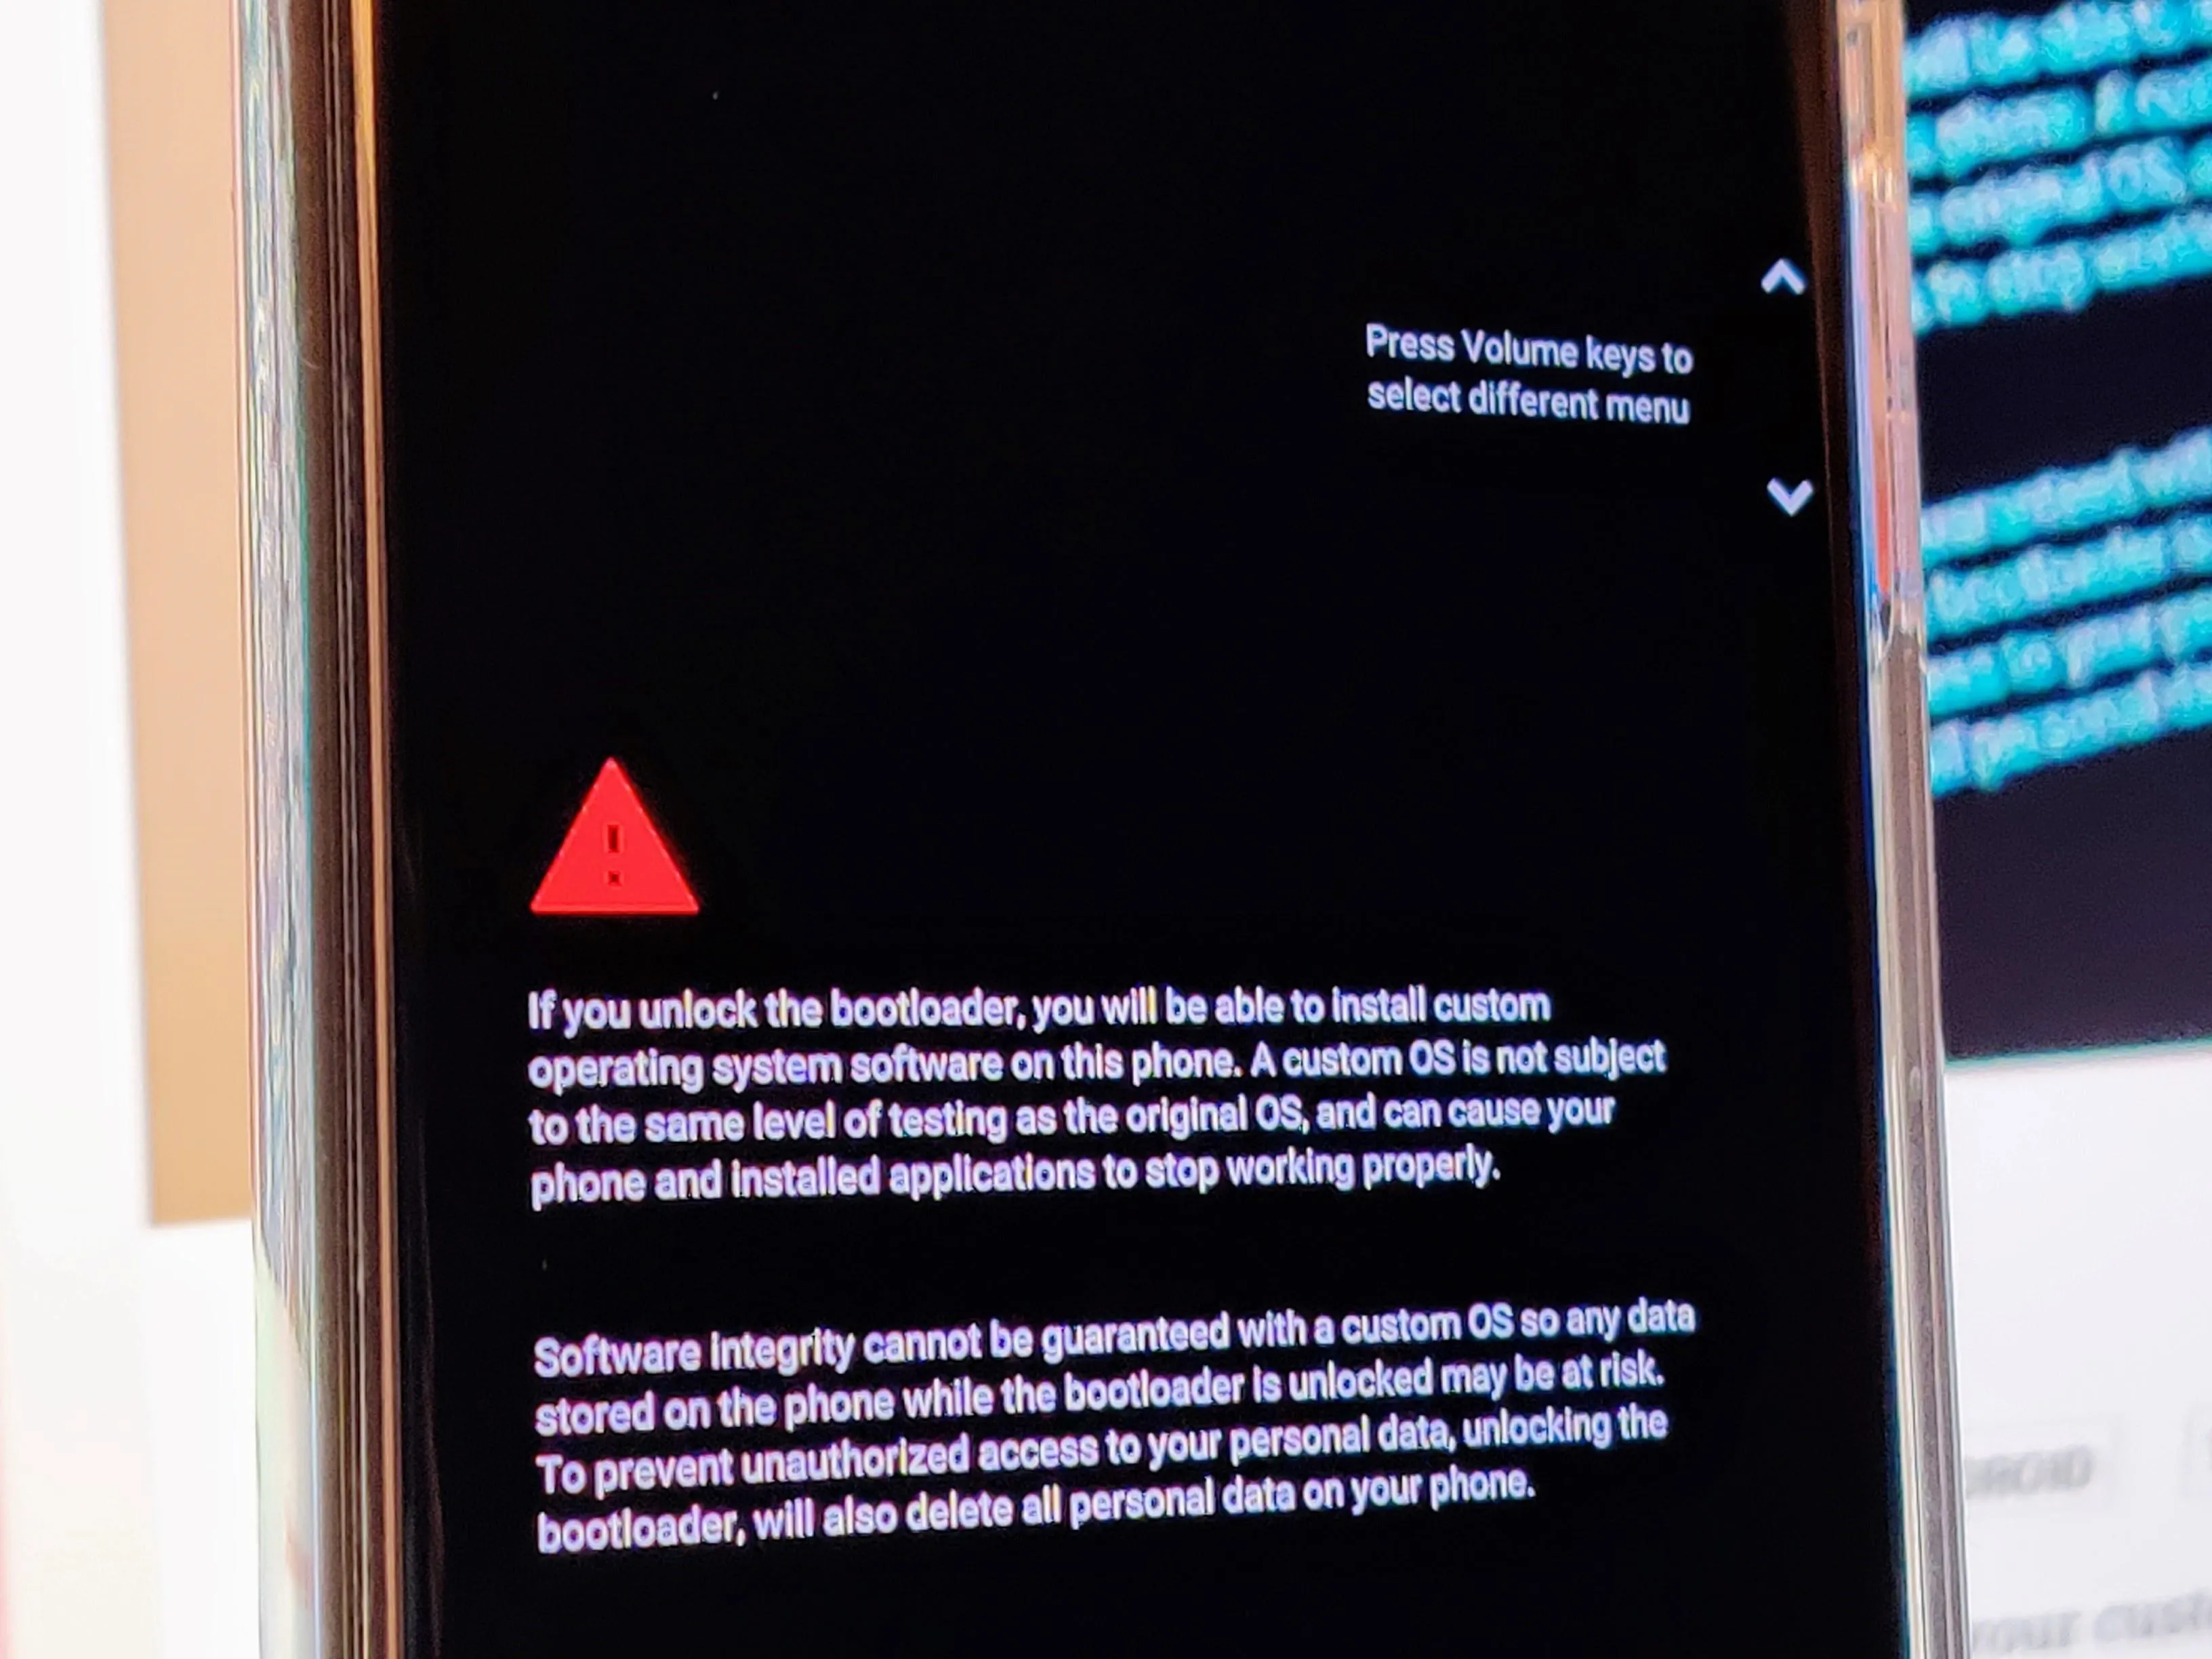
First, you'll need to unlock your phone's bootloader, which will allow you to run unofficial firmware like Magisk. Do be aware that unlocking the bootloader will auto-wipe your data, but there's no way around it. If you haven't already done so, visit the tutorial below to get your bootloader unlocked.
Step 2: Install TWRP
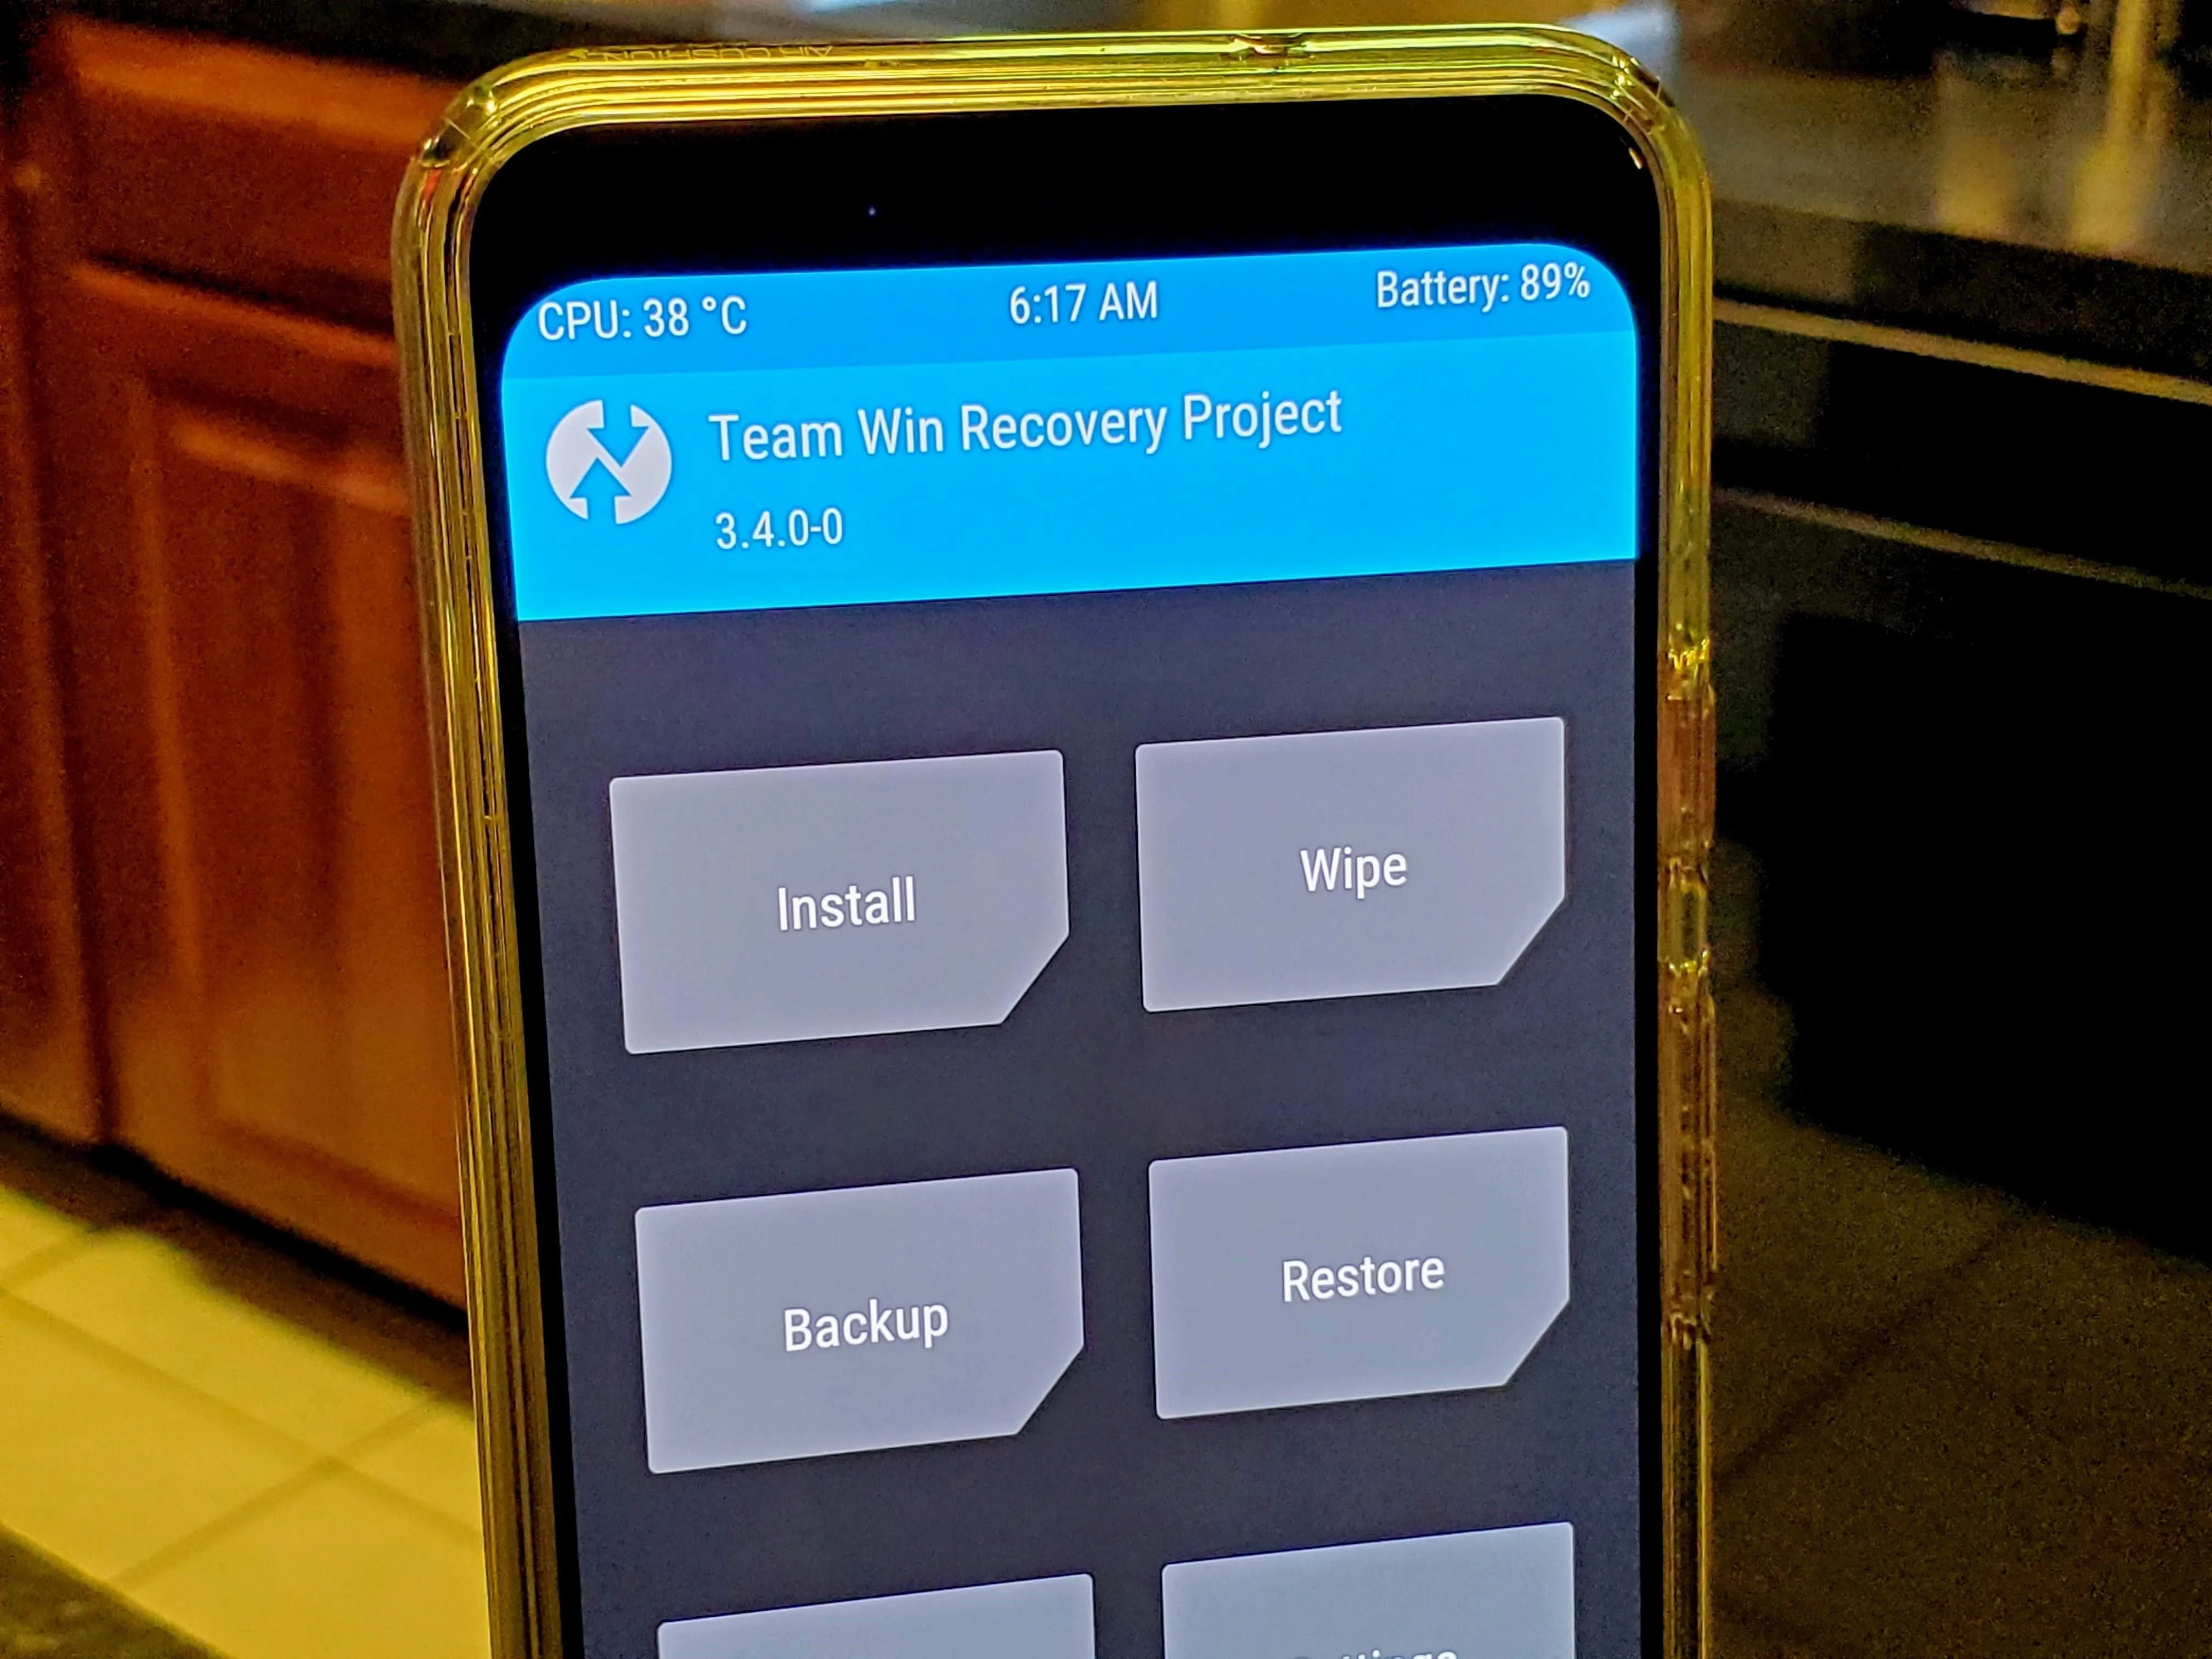
Once your bootloader is unlocked, you'll need to rely on TWRP from here to install all of your custom mods. Using TWRP is by far the fastest, easiest, and most convenient way to install mods onto your device, especially Magisk for root access. If you don't already have TWRP for Android 10 on your Pixel 4 or 4 XL, go ahead and visit the link below to get that taken care of.
Step 3: Download Magisk
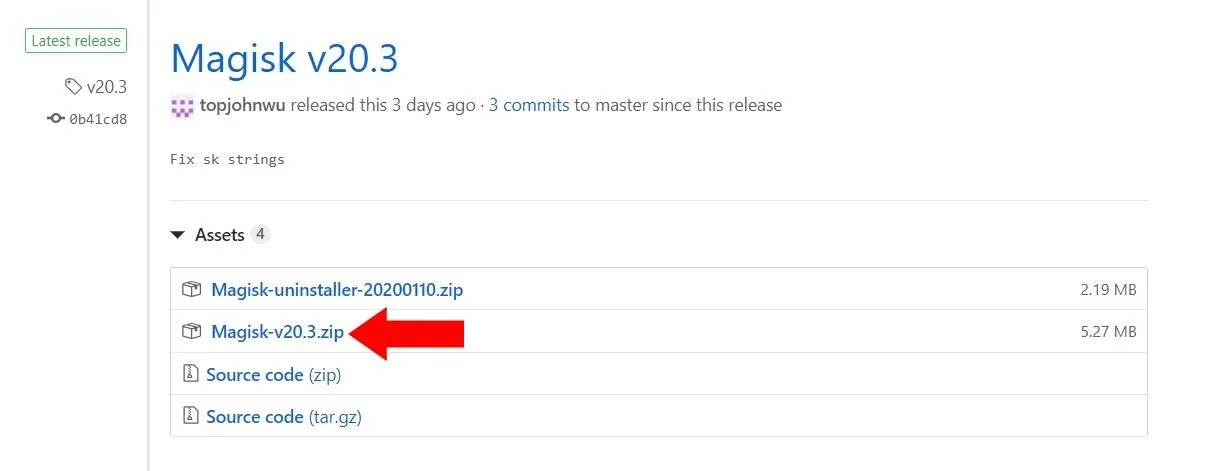
Now you'll need to grab the Magisk ZIP installer file, which is an all-in-one package that gives you root access. It also includes the Magisk Manager app itself for managing modules — can't get any easier than this! Download the latest version of Magisk from the link below, then save it to the "Download" folder on your phone for easy access.
Step 4: Boot into TWRP
As with anything, there are a variety of ways to boot your device into recovery mode. The easiest method is to boot up into its bootloader menu, which can be also be referred to as Fastboot Mode. Check the link below to get that started if you need a little extra help with this part.
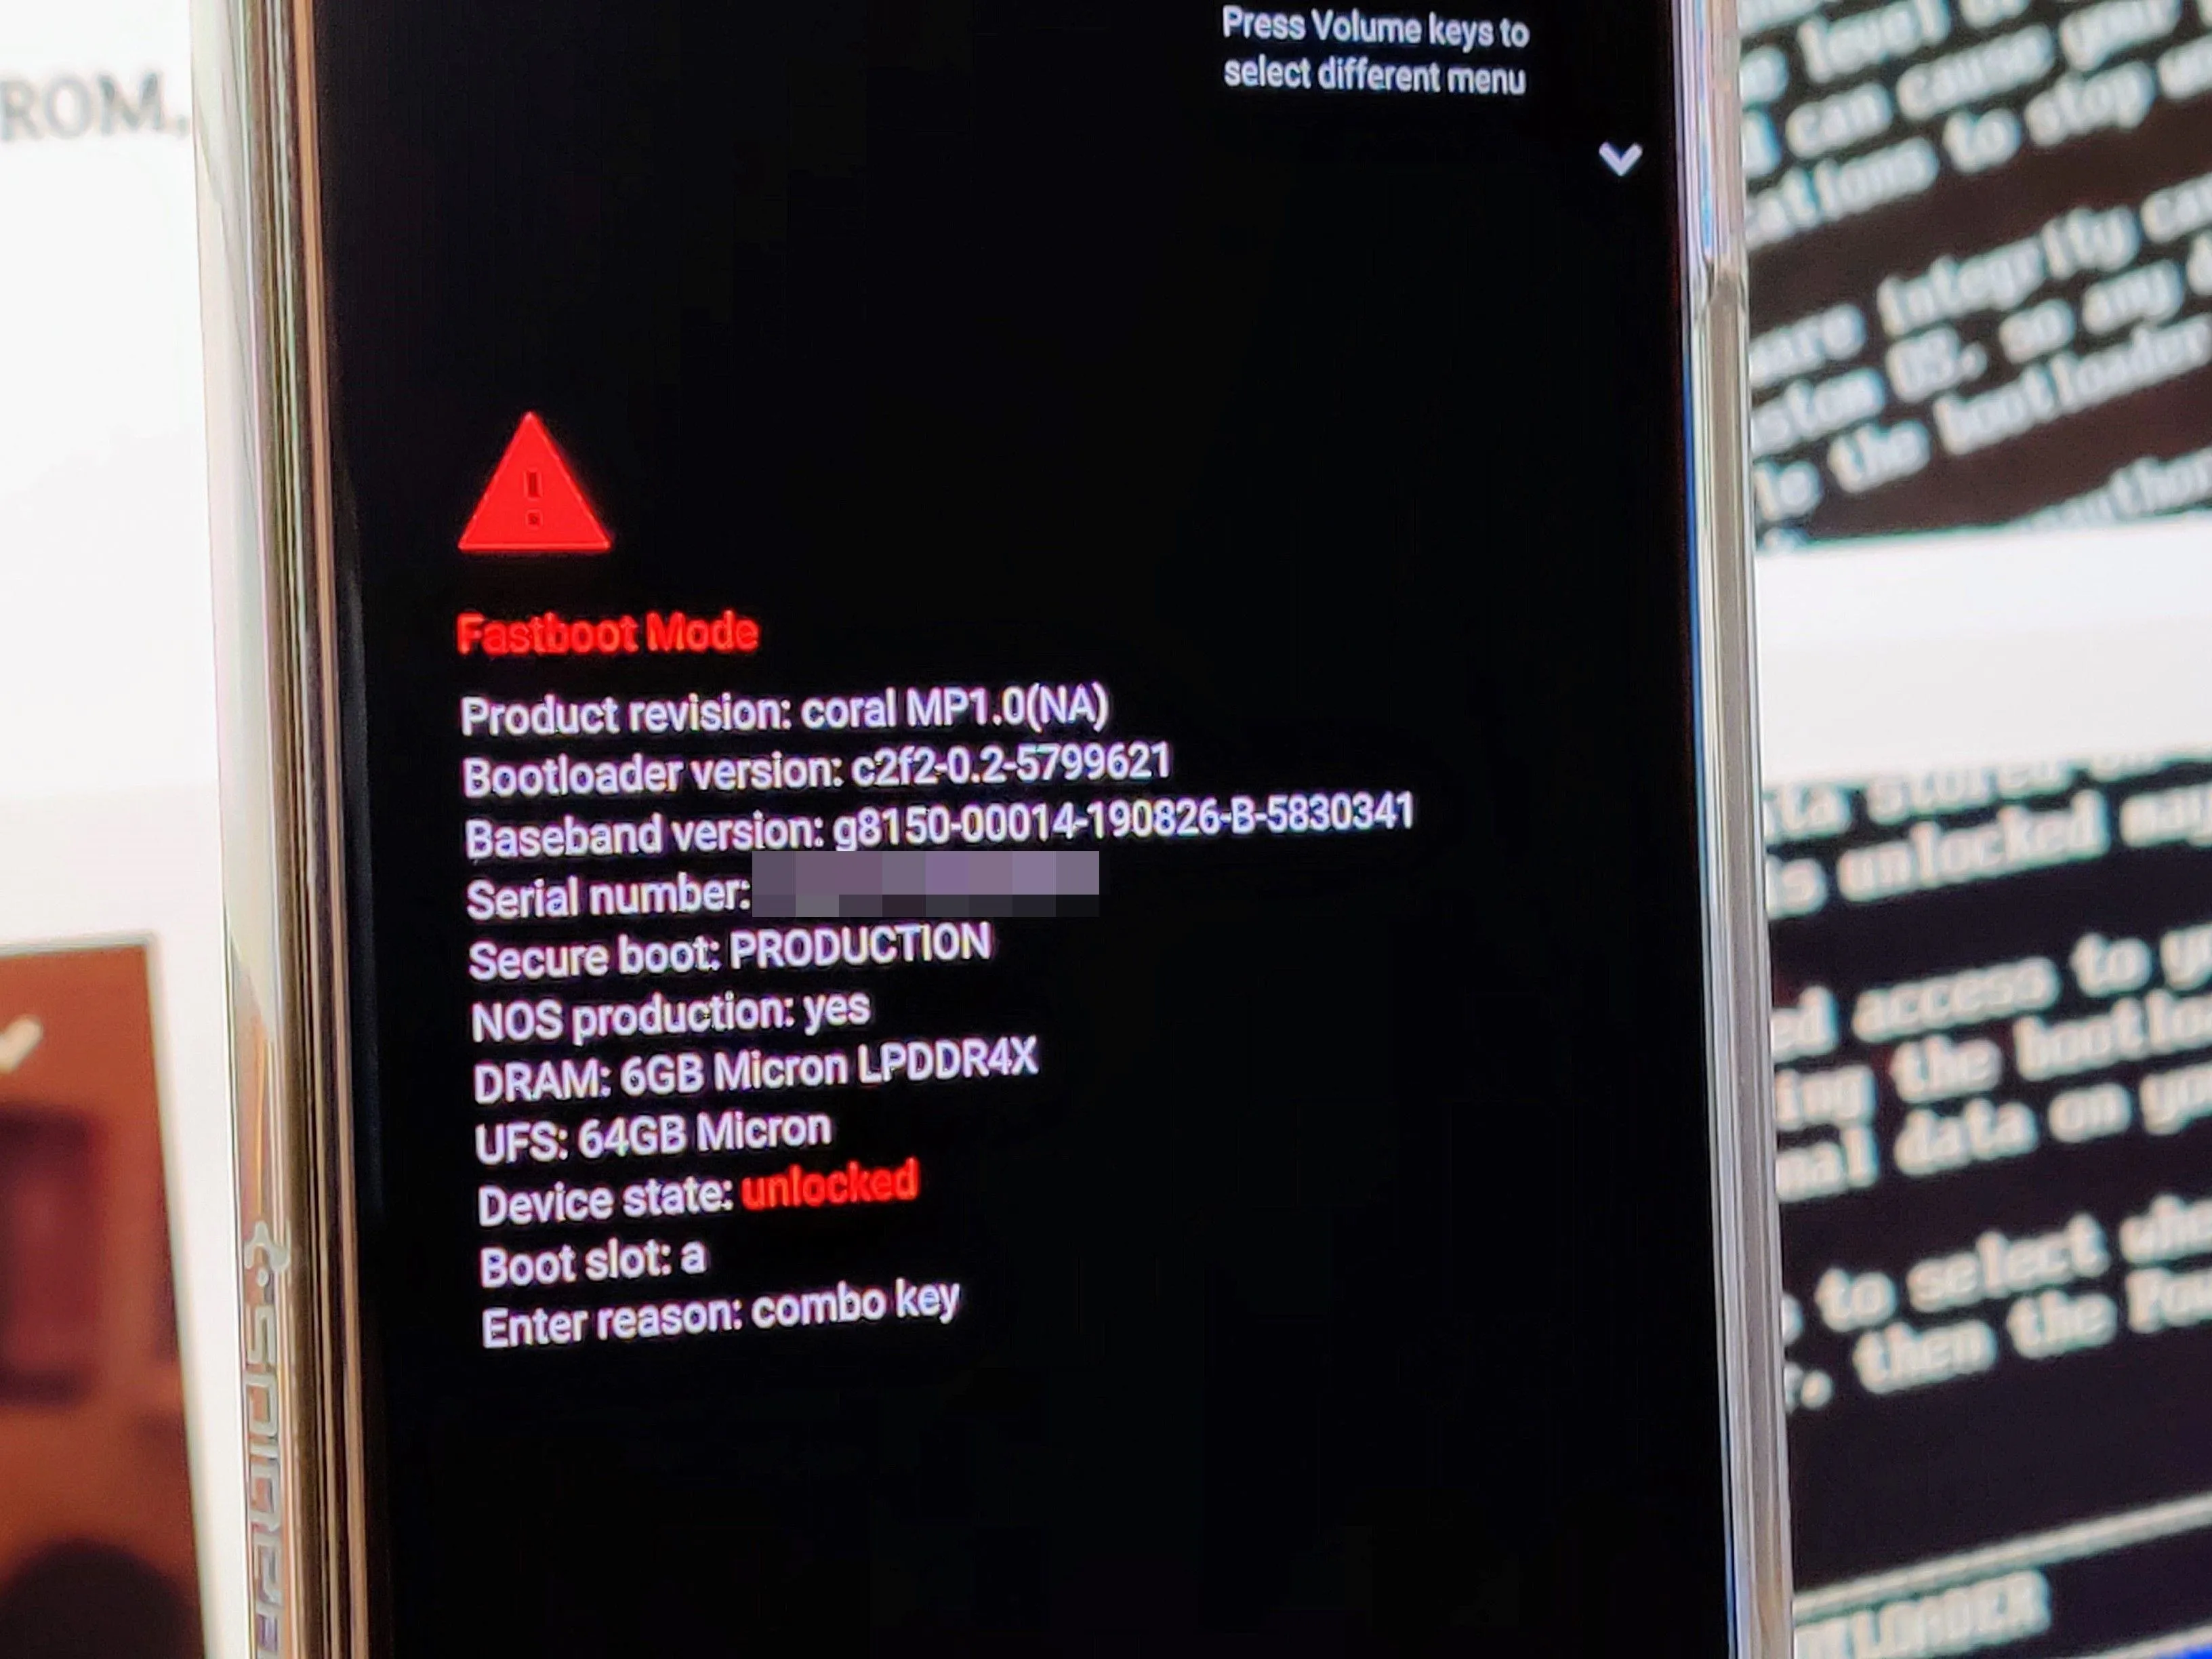
From the main bootloader screen, similar to the above image, you'll need to navigate the menu with the volume keys. Once you come across the "Recovery Mode" option, press the power button to confirm your choice, and it'll boot right into the TWRP main menu. Don't forget — TWRP for the Pixel 4 is still in testing, so you'll need to boot TWRP from your computer each time.
Step 5: Flash Magisk
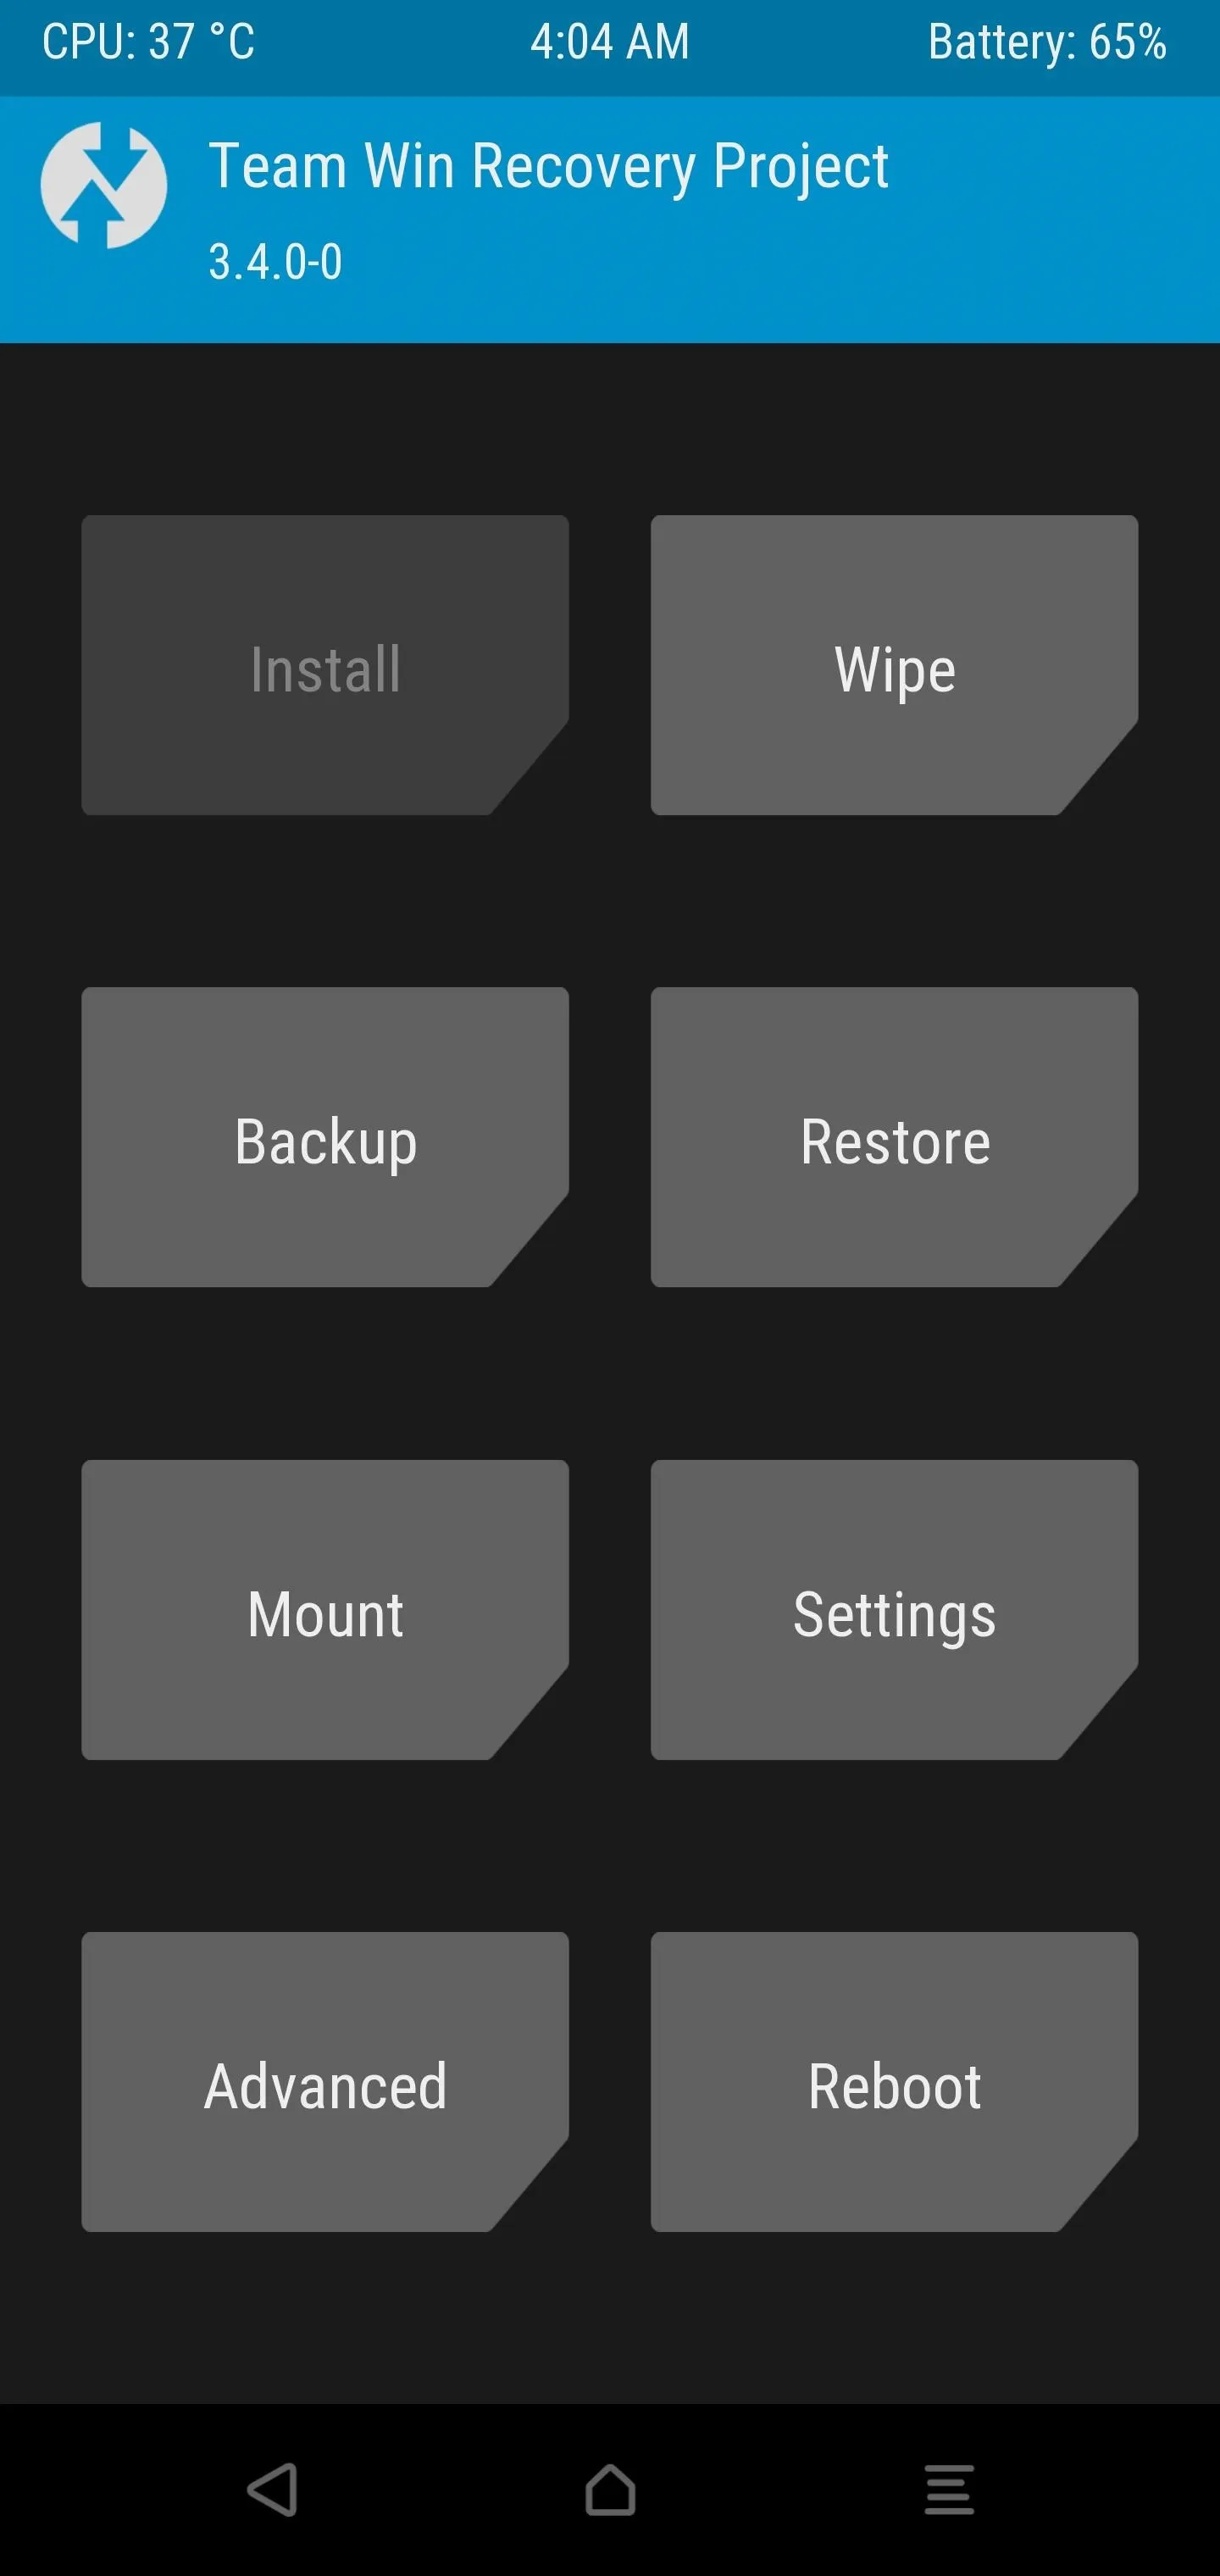
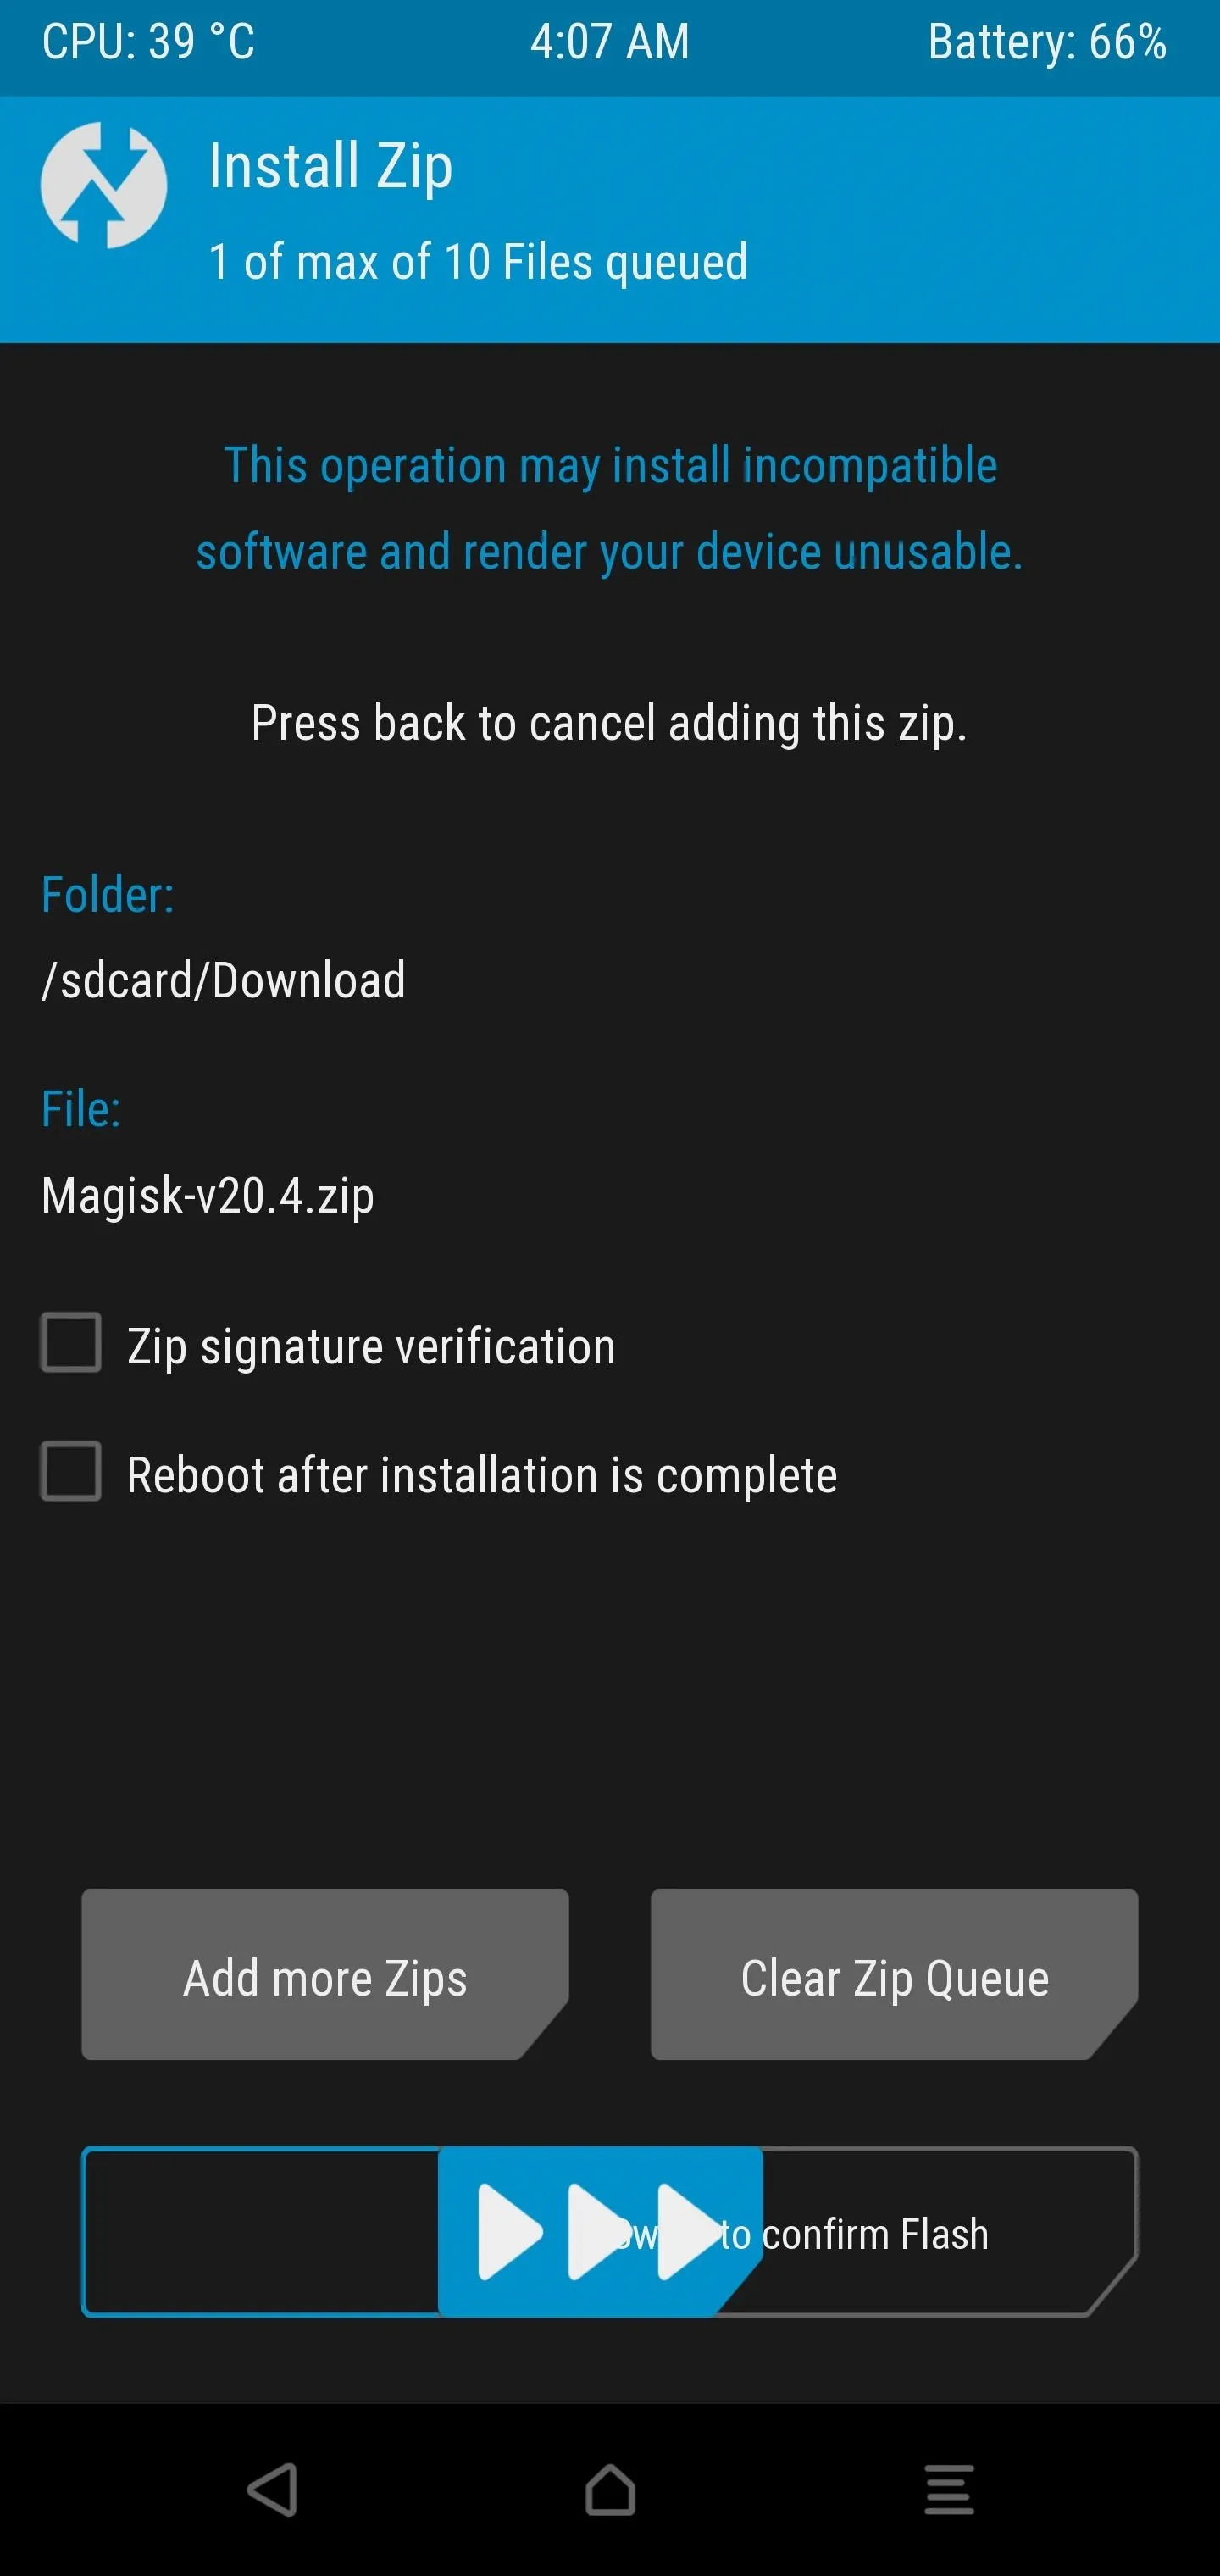
From the main TWRP menu, tap "Install" then navigate your way to the "Download" folder where your Magisk installer should be located. Tap the Magisk installer once then initiate the "Swipe to confirm Flash" slider to begin installing it.
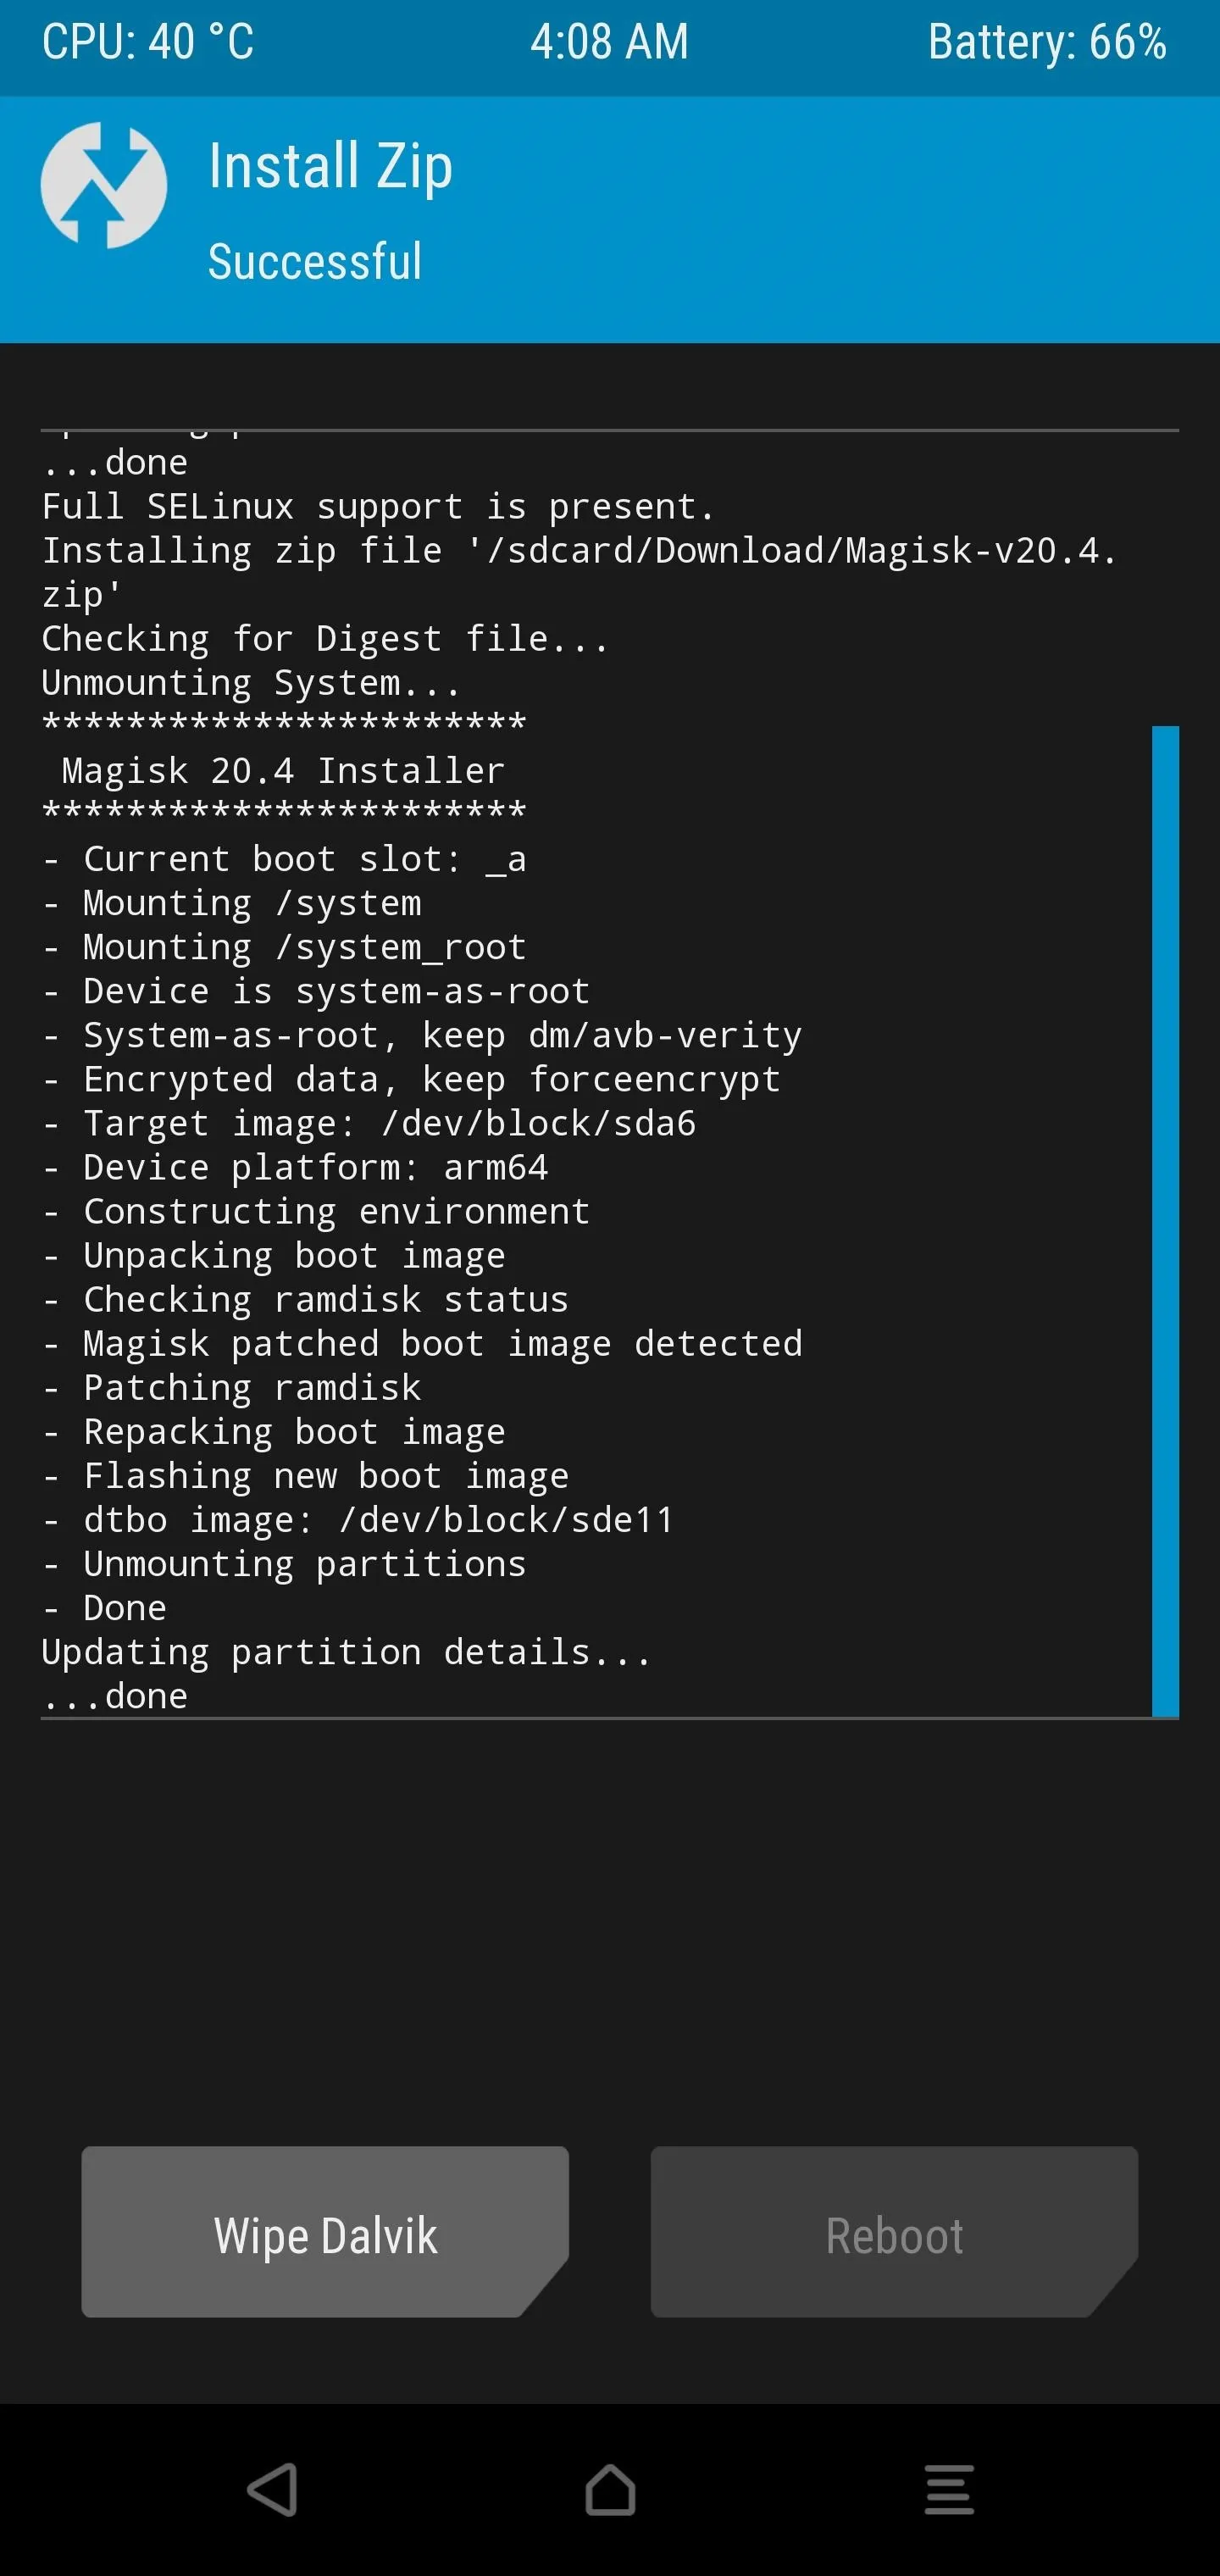
It'll start patching your boot image for root access and a few other things as well. Once finished, tap the "Reboot" button to restart your device back into Android like usual.


Step 6: Verify Root Access
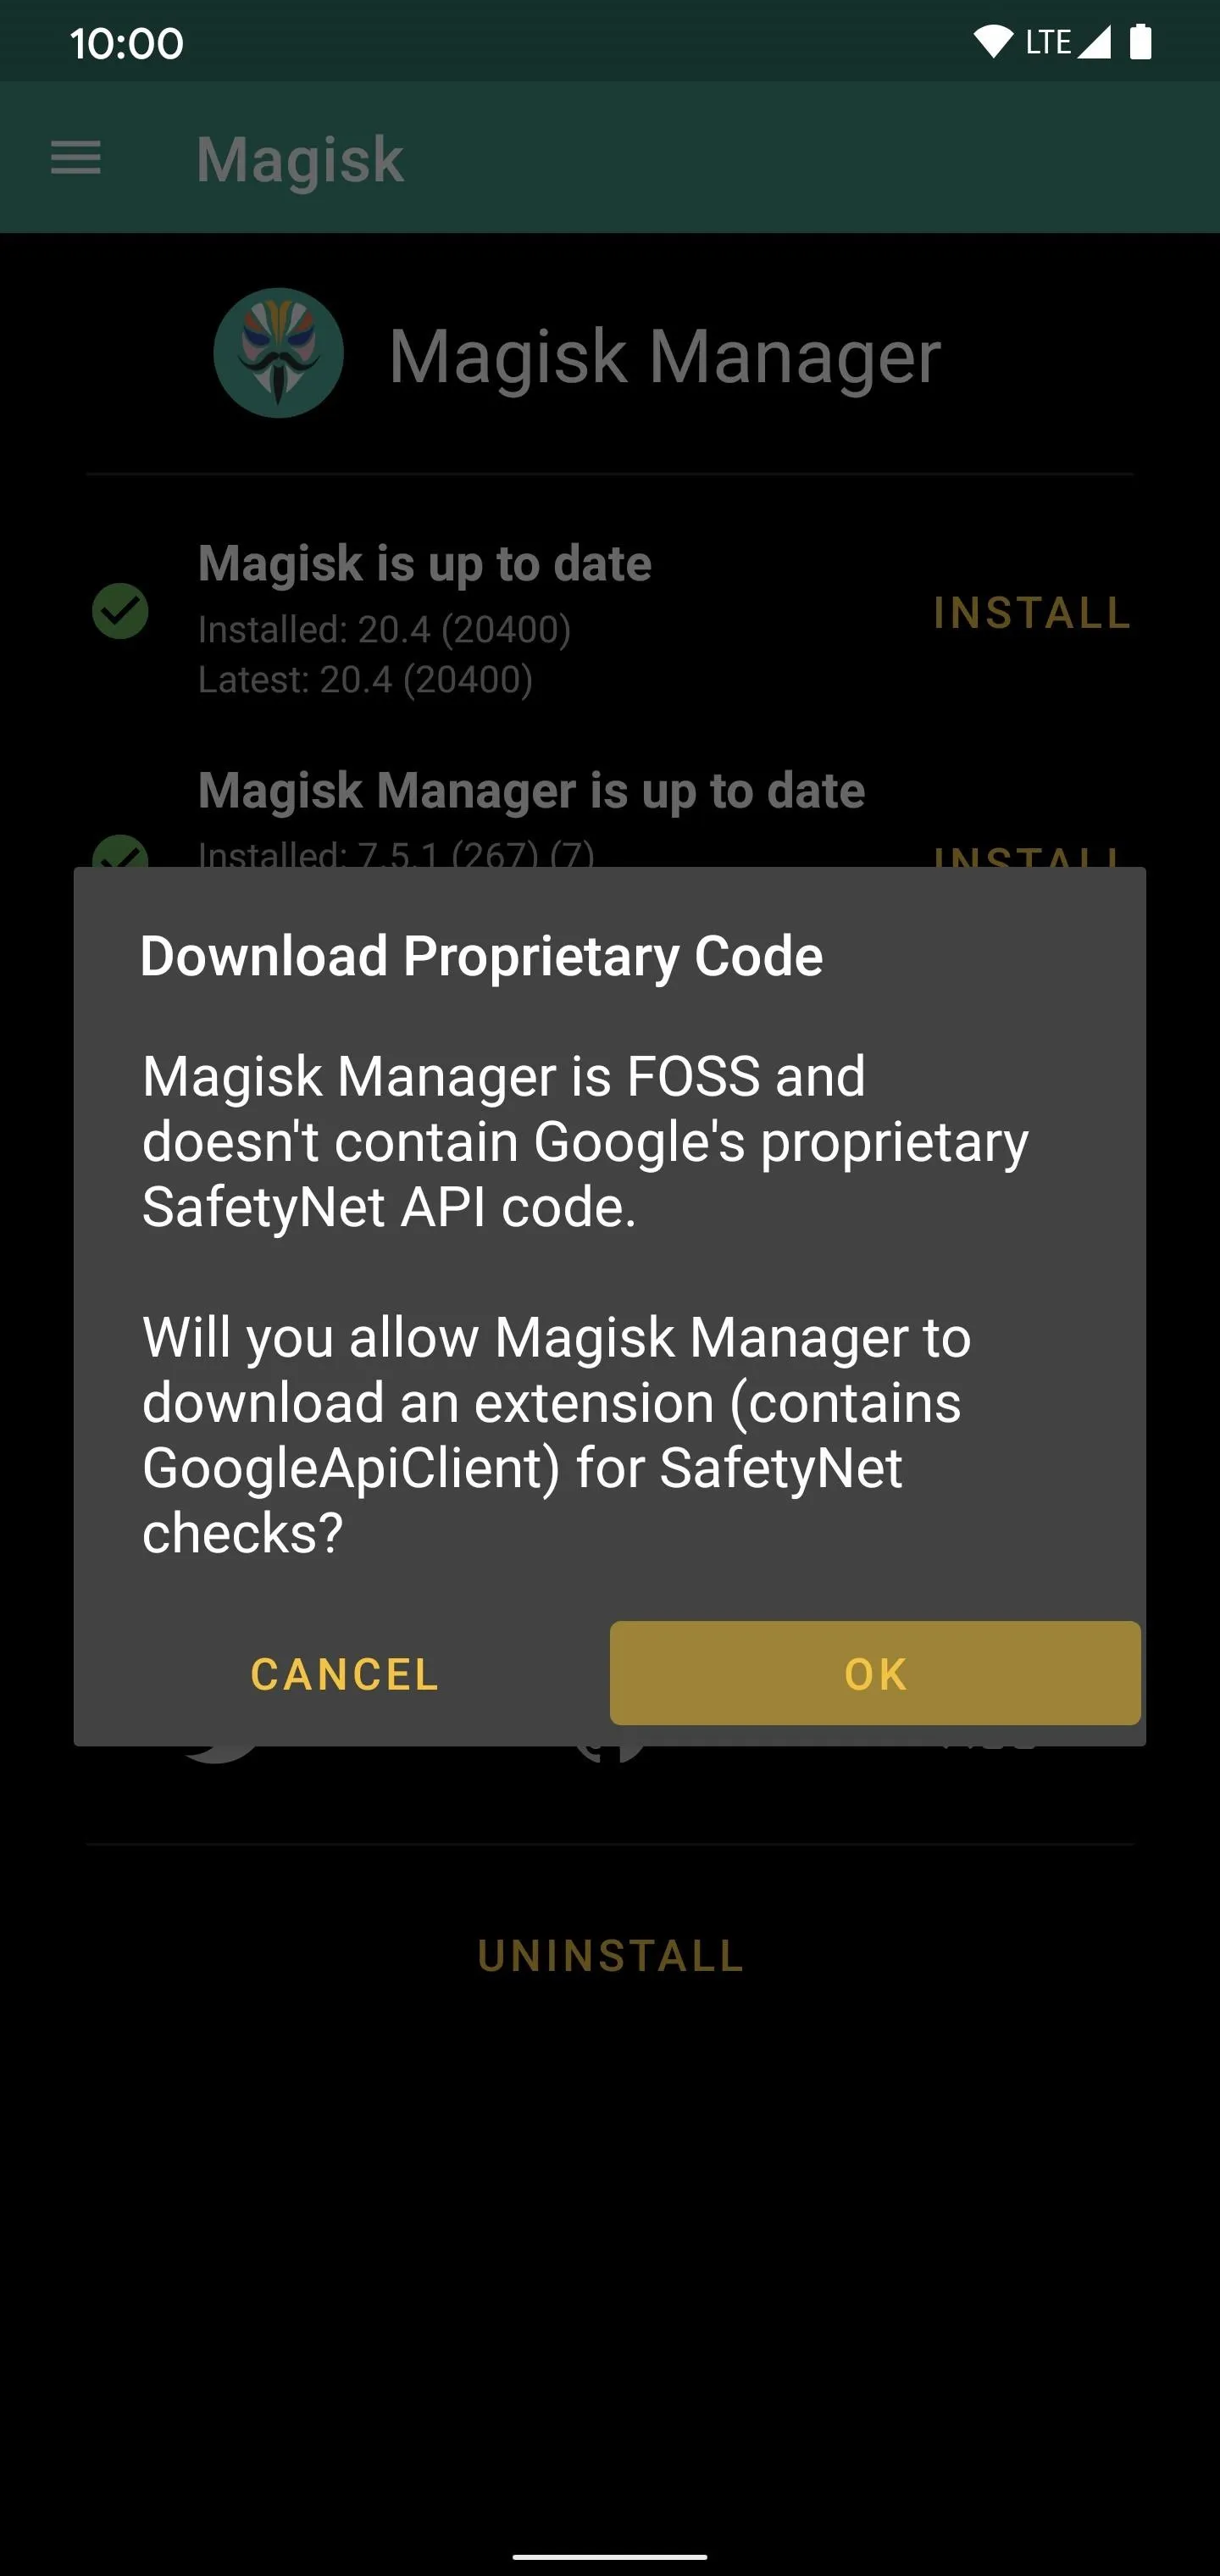
In the Magisk Manager app, press the arrow next to "Tap to start SafetyNet check." You should see a "SafetyNet Check Success" message, but it's not accurate. As noted earlier, SafetyNet will technically fail for most since the bootloader is unlocked. You can use your root mods without issue, but SafetyNet apps can cause trouble. This includes Pokémon GO, Google Pay, and many banking apps as well.
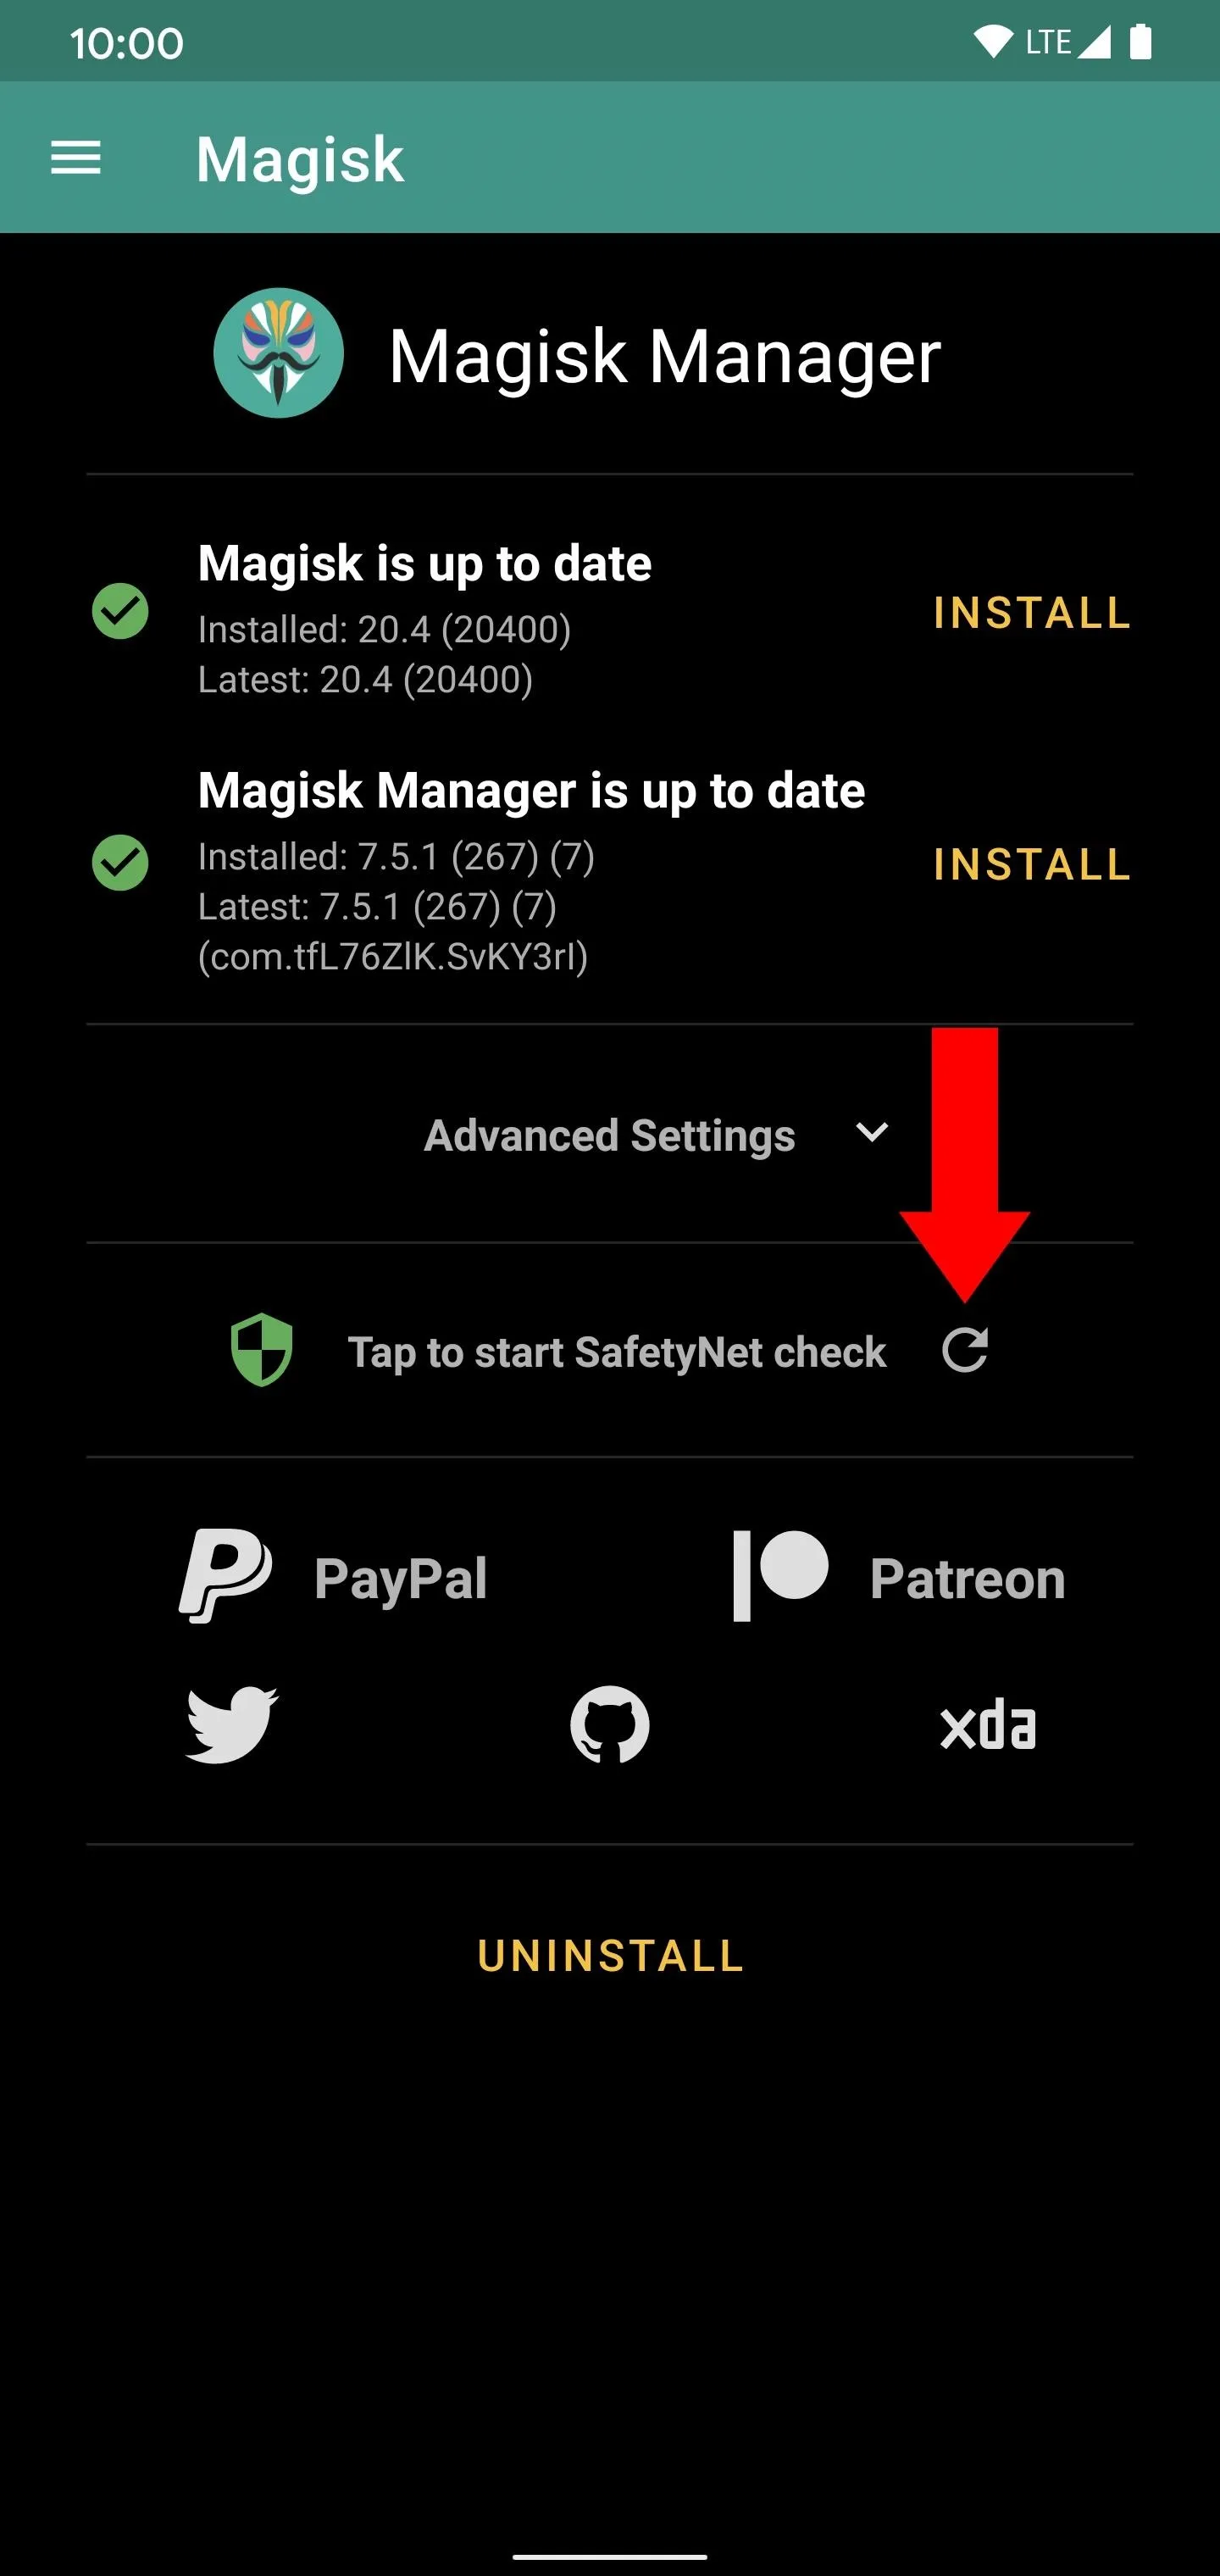
This means Magisk is working as intended and is up to date. You have full root access at this point, but might internally still have issues with SafetyNet checks failing from here on out.
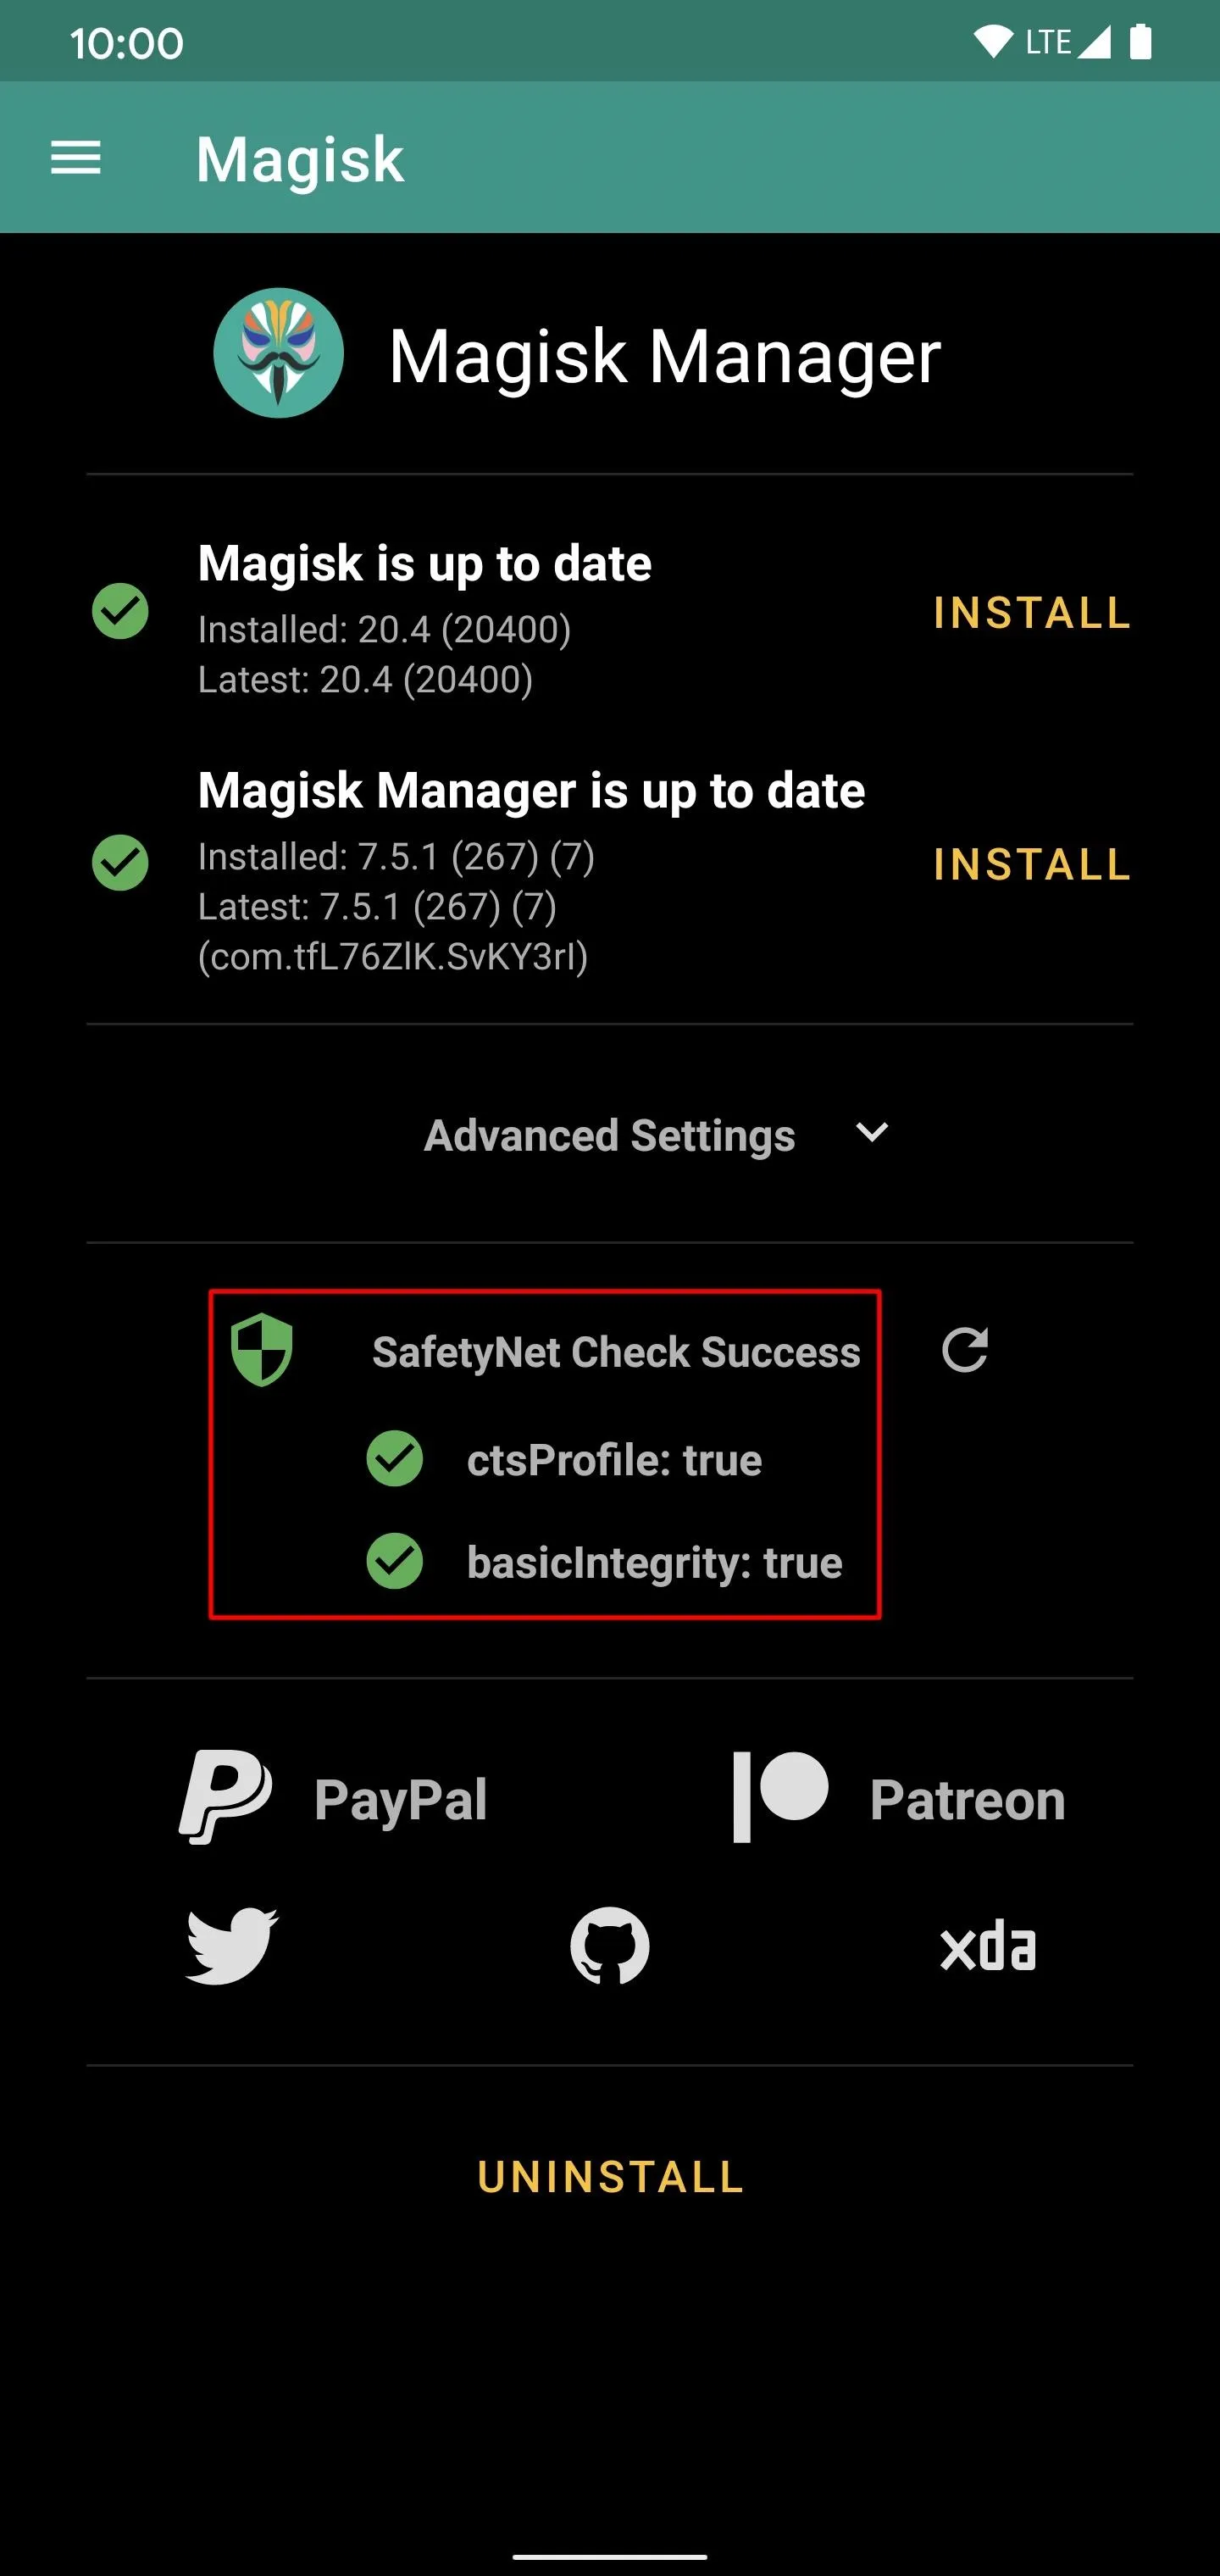

This means Magisk is working as intended and is up to date. You have full root access at this point, but might internally still have issues with SafetyNet checks failing from here on out.


Final Notes
- Should you ever find yourself in a bootloop after installing anything in TWRP, try flashing Magisk again to resolve your booting issues. The way new devices work with the A/B system partition, the device won't boot if Magisk is not currently installed on the active slot after a reboot. So don't worry — your device isn't bricked, and your data should be safe and sound as expected!
- Since TWRP on the Pixel 4 only has Android 10 support right now, this guide will not work for Android 11. If and when TWRP support for Android 11 happens, I'll update the guide with new info on what you need to do from there.
Cover image and screenshots by Stephen Perkins/Gadget Hacks


Comments
No Comments Exist
Be the first, drop a comment!